

How To Delete Windows Messenger From My Computer
Windows Messenger and Windows Live Messenger are useful programs for instant messaging. However, if you don't use instant messaging, Messenger can speedily go a resource hogging annoyance that can popular up at the worst possible time. Fortunately, you lot can remove or uninstall Messenger in all versions of Windows XP, Vista and 7.
Windows XP
Since Windows Messenger comes equally part of the Windows XP operating system, it's impossible to uninstall the program outright in the graphical user interface. It is possible, though, to remove and disable Messenger so that it doesn't interfere with the apply of your computer.
The first pace to removing Windows Messenger in Windows XP is to brand sure your version of Windows is up to date. With Windows XP Service Pack 1 or afterwards, removing Windows Messenger from the start carte is elementary.
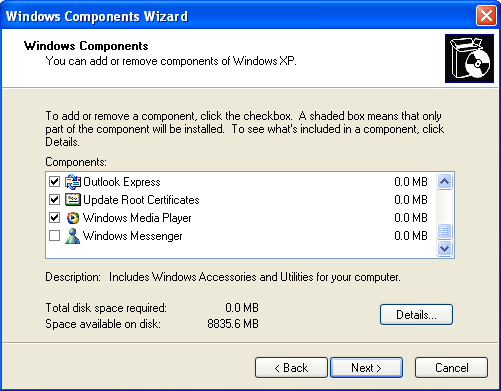
Click Start, Control Panel, then Add or Remove Programs. Click Add/Remove Windows Components. Clear the check marker beside Windows Messenger, and then click Next. Click Finish, and restart your computer if prompted to do so.
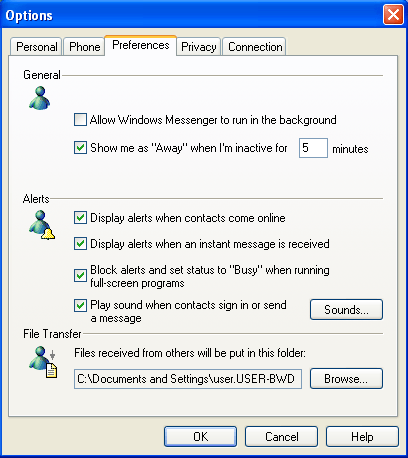
In Windows XP Home Edition, you can disable Messenger from within the program interface. Start Windows Messenger, so select Tools and Options. Select the Preferences tab and articulate the check box side by side to "Run Windows Messenger when Windows starts." If Windows Messenger is already disabled, then this option may non appear in the Preferences tab.
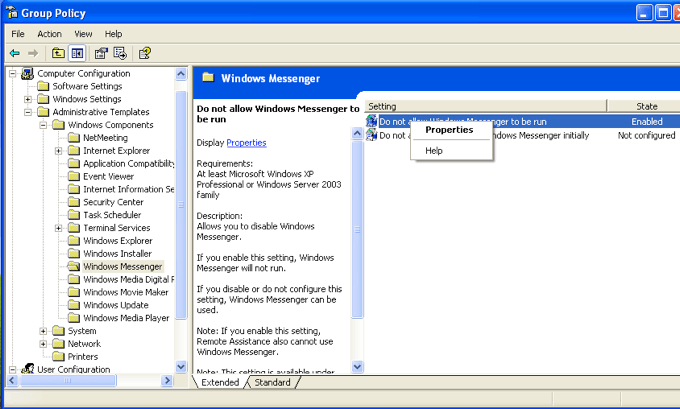
In Windows XP Professional person, apply the Grouping Policy Editor to remove Messenger. Click Kickoff, Run, then type gpedit.msc in the field provided. Expand the Local Computer Policy list.
In the list, find Figurer Configuration, Administrative Templates, then Windows Components. Select Windows Messenger, right click the "Exercise not permit Windows Messenger to run" pick and choose Properties. Select Enabled and then click OK.
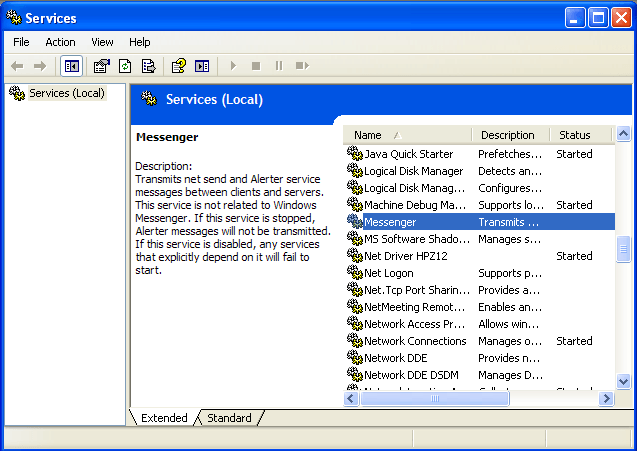
In both Windows XP Home Edition and Professional, you can disable Messenger in Administrative Tools. Click First, Control Panel, Performance and Maintenance, then click Administrative Tools. Click Services. So find Messenger inside the list of programs. Correct click it and cull Properties. Make sure that the Startup Blazon is set to Disabled, so click OK.
Windows Vista and 7
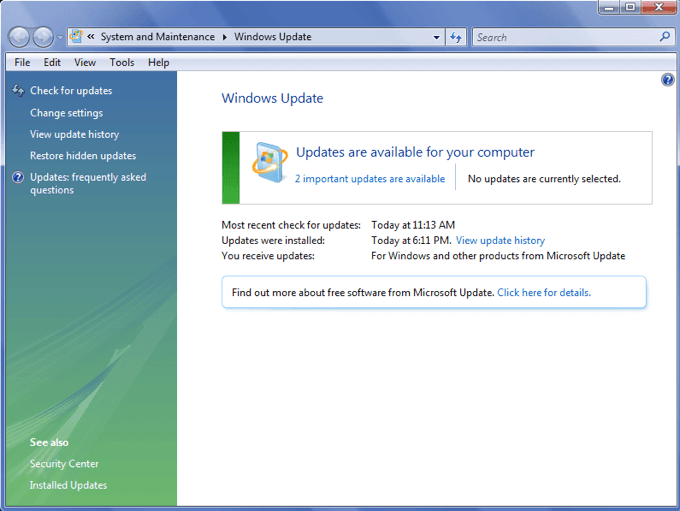
To get started removing Windows Alive Messenger in Windows Vista and 7, you lot must first make certain that Windows Live Essentials is updated. In the Start Search box, blazon Windows Update. Select Windows Update from the program listing.
If there are updates available for installation, select Install Updates. You can also click the Review Important Updates or Important Updates Are Available link to encounter the available updates, and click View Update History to come across which updates you've already installed. If not, select Cheque for Updates. Ensure that you install the latest version of Windows Live Essentials on your calculator before continuing.
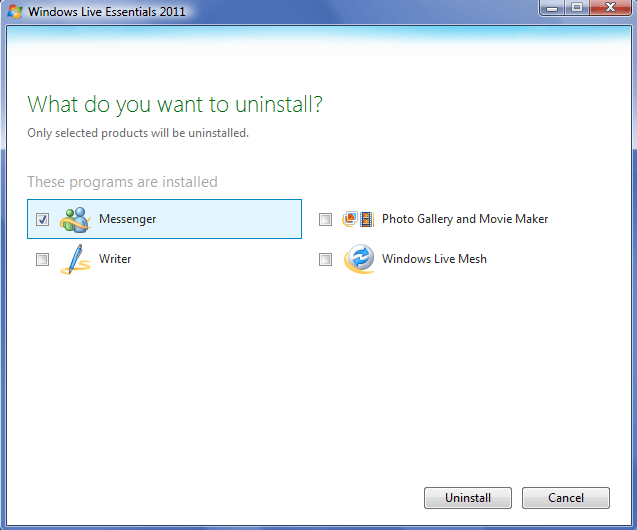
In both Windows Vista and 7, click the Start button and Control Panel. Under Programs, select Uninstall a Program. Select Windows Live Essentials and click Uninstall/Change. Select Remove one or more Windows Alive Programs, then select Messenger. Click Uninstall to completely remove Windows Live Messenger from your computer.
Do not share my Personal Data.
Source: https://helpdeskgeek.com/how-to/remove-windows-messenger-from-windows-7-vista-and-xp/
Posted by: pachecopamentier45.blogspot.com
0 Response to "How To Delete Windows Messenger From My Computer"
Post a Comment